
Impasto is an open-source painting and image editor for Linux, Windows, and macOS. It handles quick edits, crops and resizes, but its focus is painting and layered image work: brush and shape tools, editable text, selections, masks, blend modes, a full undo history, and effects.
Install it
Pick your platform:
- Linux — Flatpak, AppImage, or a zip that uses your system GTK.
- Windows — an installer for x64 and arm64.
- macOS — a disk image for Apple Silicon and Intel.
Windows and macOS builds are not code-signed, so both systems show a warning the first time you open the app. The install pages show how to get past it.
Open your first image
Choose File > Open, or press Ctrl+O, and pick a file. Every file opens in its own tab, so you can keep several images side by side and switch between them with Ctrl+Tab.
To start from nothing instead, choose File > New (Ctrl+N) and set the size, orientation, and background color. The default size for new images is configurable in Edit > Settings > Canvas.
Drop a file onto the window to open it. Dragging an image from another application onto the canvas pastes it as a new layer, which is the usual way to combine two images.
Find your way around
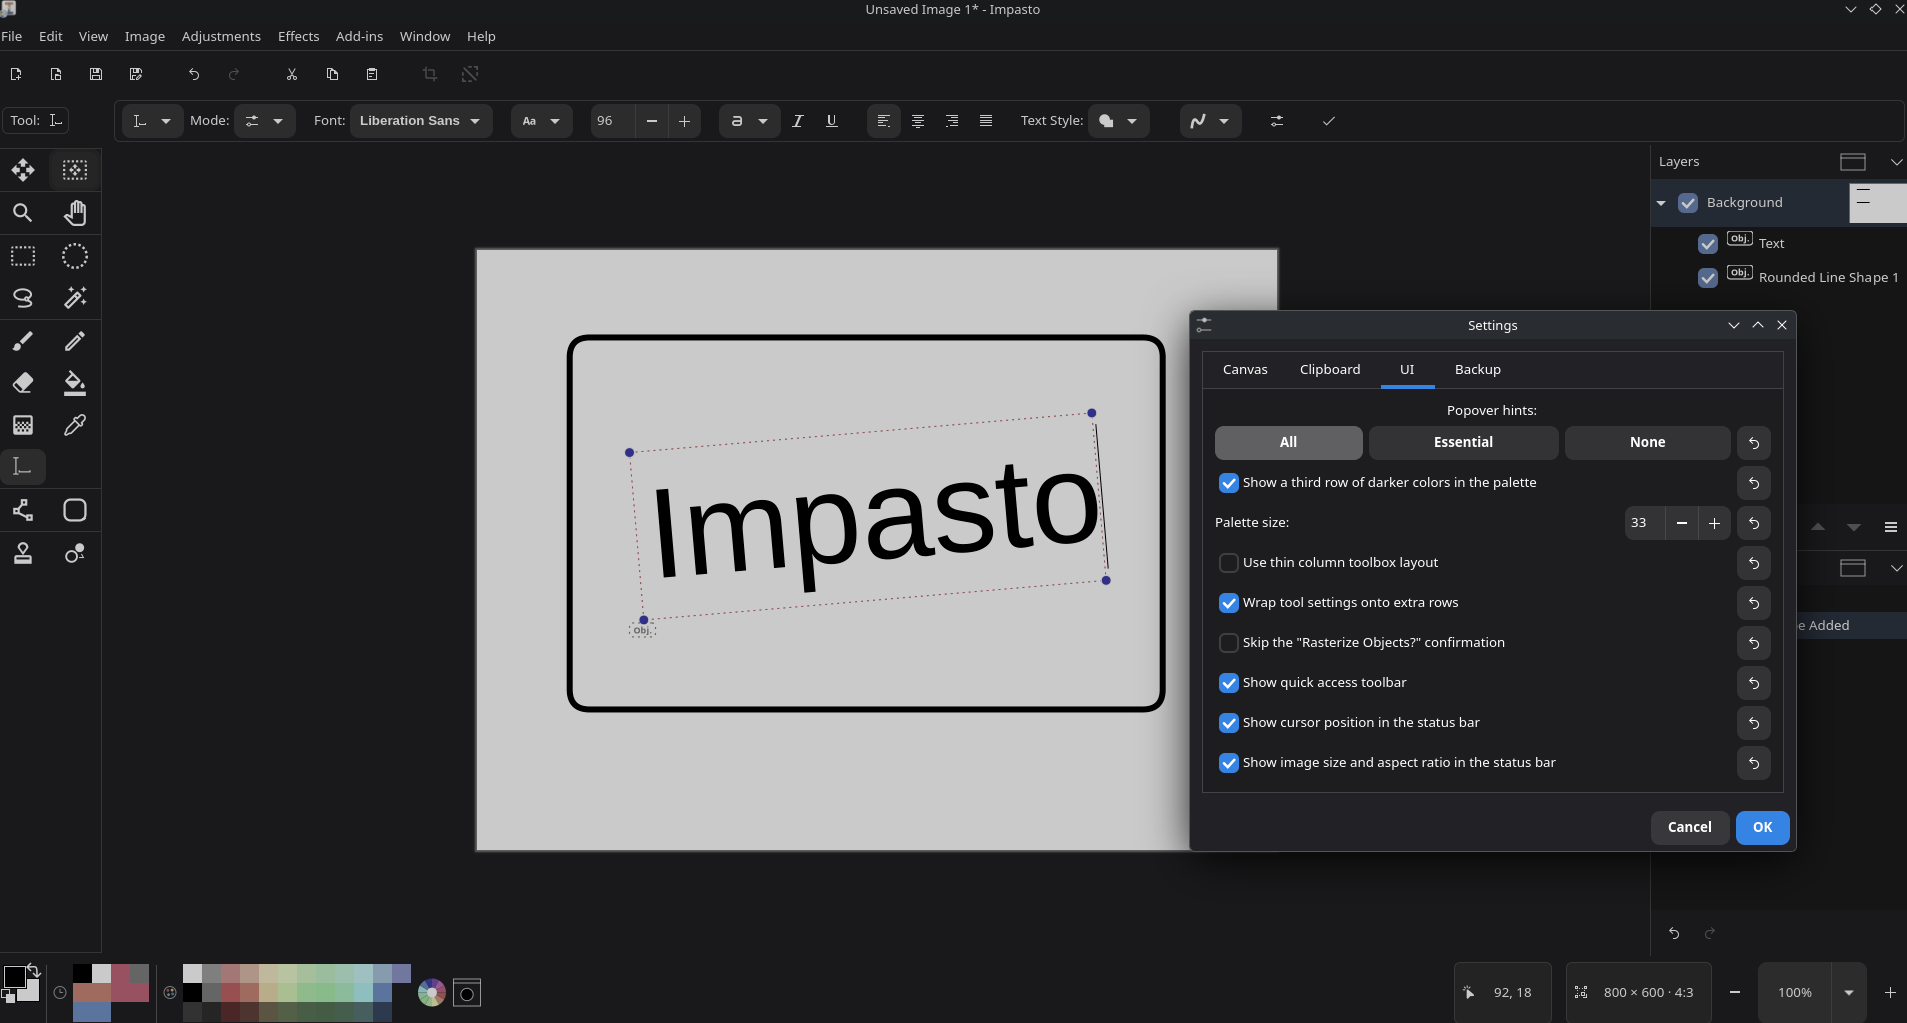
The window is made of a few regions, described in full under The interface:
| Region | What it is for |
|---|---|
| Menu bar | Every command, grouped by File, Edit, View, Image, Layers, Adjustments, Effects, and Help. |
| Quick access toolbar | New, Open, Save, Undo, Redo, and the clipboard commands. |
| Toolbox | The column of tools on the left, divided into sections. |
| Tool options bar | The settings for the tool that is currently selected. It changes as you change tools. |
| Canvas | The image itself, with rulers when you turn them on. |
| Side dock | The Layers, History, and Canvas pads. Each can be minimized, maximized, or floated. |
| Status bar | The palette, cursor position, image size, and zoom controls. |
Almost every control has a tooltip. Hover over a button or field to see what it does, and which key selects it if it has one.
The basic loop
- Pick a tool from the toolbox, or press its key: B for the paintbrush, P for the pencil, E for the eraser, T for text, S for the selection tools.
- Set its options in the tool options bar. Brush width, blend mode, fill style, and so on are per tool, and Impasto remembers them between sessions.
- Work on the canvas. Left click uses the primary color; right click uses the secondary color wherever a tool distinguishes them.
- Undo with Ctrl+Z if it goes wrong. The History pad lists every step and lets you jump back several at once.
- Save. Ctrl+S saves in the file’s own format. Ctrl+Shift+S (Save As) lets you choose another one.
Paint versus objects
Impasto has two kinds of artwork, and knowing which you are working with explains most of its behaviour:
- Pixels — brush strokes, fills, pasted images, anything painted directly onto a layer. They are permanent: once painted, a stroke can only be changed by painting over it or undoing it.
- Objects — text and shapes stay editable after you draw them. Their words, colors, fonts, and control points can be changed at any time, and each object carries its own history so you can undo an edit to one object without disturbing anything else.
All the painting tools work on pixels. Text and the shape tools create objects. Objects live inside a layer, and anything that needs flat pixels — cut, erase, crop, resize, rotate, flip, flatten — bakes them down permanently first; see Layers and objects.
Next steps
- The toolbox — what every tool does.
- Layers and objects — the core of layered editing.
- Keyboard shortcuts — the defaults, and how to change them.